Tuesday, February 23, 2016

"1941"


Hi there friends, thanks for stopping by.
Today I have a layout I created for the February challenge over at the
Kraft +  challenge blog.
This months challenge is all about "Going Postal"
Here is the current challenge board.


 Now after much thought I decided to create my layout around this photo of my Mother,
 as a child, walking down the street with my Great Grandmother in Sydney in 1941.

Way back then they used to have street photographers because most people didn't
own cameras !!! Hard to believe. Anyway these photos were called "Leicagraphs"
This was the original envelope, still with the postage stamps attached, that they 
were mailed out to my Grandmother in, I reduced it to add to my layout.
I can read the address where she used to live & the postmark says,
May 1941 !!!!
(sorry it is a little hard to read in this photo)


 I did a google search to find out about this Leicagraph company & this is what it said.....

 The Leicagraph Co, 
5 Strand Arcade, Sydney
" Prior to ww2 , during the war, and for sometime afterwards, street
photographers were common on city streets particularly around high traffic
areas. Almost invariably they were based in arcades as this facilitated
collecting the photos. As cameras were not prolific in those days this was
often the only way to preserve a memory of a special occasion."


I do love this photo from such a different era.

Well thats all from me today, I hope you like my layout &
the little history lesson. :)
Thanks so much to Sandra for such a great challenge & all the
DT girls for all the inspiration too.

Until next time.

Monday, February 22, 2016

More Than Words February Mini Challenge
February Word = "Magic"


Hi there friends, thanks for stopping by.
Today I have my DT reveal for our February "Mini Challenge"
over at More Than Words.
This months words is "MAGIC".

Now the MINI CHALLENGE is just that....
#1. It is for mini projects, cards, tags & ATC's only 
(no layouts, canvases or Art Journals)

#2. It only runs for a mini amount of time.
From 23rd of every month until the end of the month.

#3. Entries to be uploaded onto our facebook page ONLY,
underneath where you see the above image.
Add it as a comment & not added into the linky on the blog.

The winner is chosen by the DT & wins a $25 prize pack
from our good friends over at "Dusty Attic Chipboard.


I really enjoyed making this card for the challenge.
Lots of layers & mixed media.


Purple, turquoise & gold, love this colour combination.
Well thats all from me today. I do hope you can find some time to join
 in the fun with our Mini Challenge this month.
Until next time.


Thursday, February 18, 2016

My Maja Design February DT Reveal
Some Gift Bags & A Card


Hello there friends, thanks for calling by. Today I have some DT work for
Maja Designs
to share with you. I thought I would do something a little different
 & I have two sweet little gift bags & a card I have made using some
lovely Maja Design papers. 


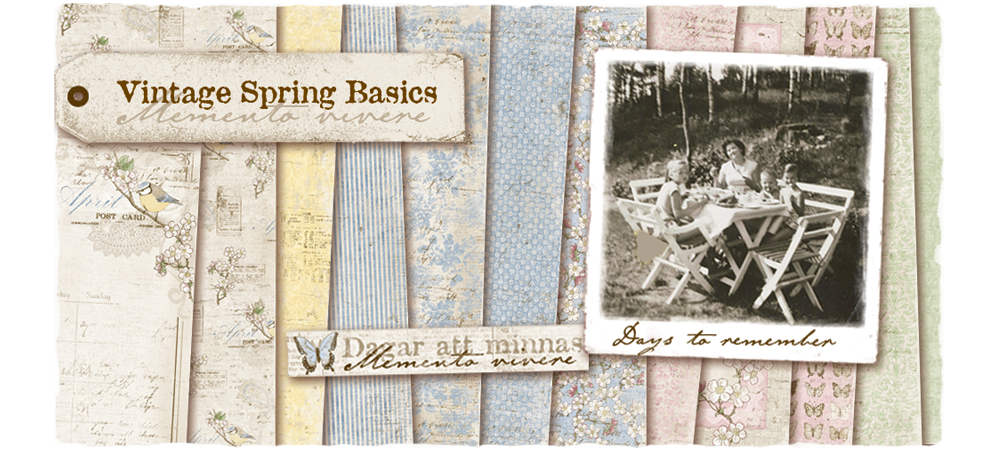
For this gift bag I have used the  "11th of April" paper from the "Vintage Spring Basics" 
 collection. I had purchased a "We R Memory Keepers Gift Bag Punch Board" & wow
 I sure did have some fun making these gift bags. Once I got the hang of how to use it,
 it made making gift bags sooo easy. 


For my second gift bag I used the "10th April" paper also from the  
"Vintage Spring Basics" collection. This range is soooo beautiful & what 
better colour to team with these gorgeous shades of mauves & purples, but green !!
 My favourite colour. Again I made this on the "gift bag punch board". 


Lastly I have this super simple card I made using the "Garden Moments" paper from
 the "Enjoying Outdoors" collection. Even though this paper was from a different paper
collection I think it teams perfectly with my gift bags. This particular paper is a card 
makers dream. (see it below) These images are just devine & are perfect for a 
quick card. To add a little dimension I stuck a little posie of mauve roses tied with 
a little string on the front  a few sequins :)

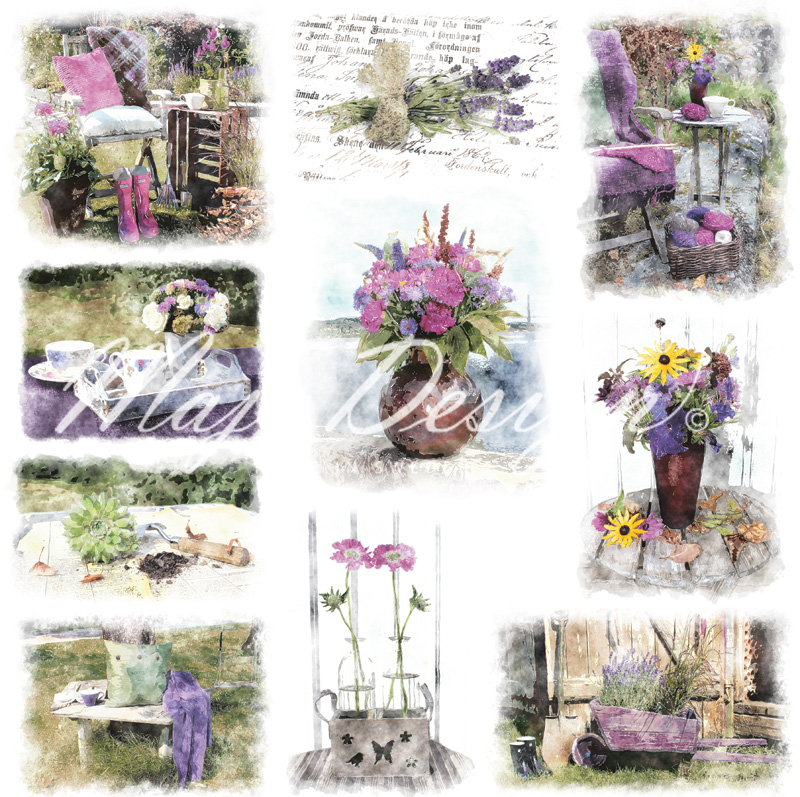
Garden moments
 "Garden Moments Paper"
 Vintage-Spring-Basics3
 Well thats all from me today.
Until next time.

Monday, February 15, 2016

My 2Crafty Chipboard February DT Reveal
Part Two
"Sweet"


Hi there 2Crafty fans. Thanks for stopping by the blog.
Today I have part two of my February DT reveal for 2Crafty Chipboard.

Today I thought I would do some bright colours
& when you want brights, what better to use than Dylusion sprays.

2Crafty Chipboard Used...
Friendship Mini Word Pack
Mini Flourish Pack
Lattice Leaf Set
Ariels Spray
Frame - Jenna


I have created some texture on the background with stencils, texture paste & Dylusions.
To co ordinate all my chippie pieces with my background I first gave all the chippies
a coat of white paint as a base coat. NOT GESSO. Gesso & Dylusions are not very
compatible. The gesso seems to suck the colour out of the Dylusions & fades it.

In this pic you can see the beautiful "Ariels Spray" at the right of my photo.
It's a real statement piece!!!

Next I brushed all the chippie pieces with some Dylusions spray including
this gorgeous "Frame - Jenna" which I cut into pieces & layered 
behind my photo.


This "Jenna Frame" is so beautiful & fine & just perfect for drawing the eye to my photo.


In the pic above you can see where I have used a piece from the "Mini Flourish Bits Set".


I have added some leaves from the "Lattice Leaf Set" which I simply coloured
with a black ink pad. Too easy. 

Well thats all for today. See you back here again soon
 with another project to share.

Until then.

Friday, February 12, 2016

My 2Crafty February DT Reveal
PLUS
Playing Along at Words & Paintery
"Caught in the Act"


 Hi there peeps, thanks for stopping by. Today I have a rare boy layout to share,
because it has been a while since I have done one I know !!! I have based it on
the current challenge over at "Words & Paintery" 


FOOTNOTE...
I was a winner with this layout over at
"Words & Paintery"


I have used the following 2 Crafty Chipboard pieces..
Caught in the Act - title
Chain Lengths
Fencing Wire Panel
Giant Cogs & Gears


I painted the title part red & part black using acrylic paint & when
dry I added some Glossy Accents in a "hit & miss" fashion to the red.
Gee I haven't used this stuff in ages !! It just worked for this.


For all the other chipboard I just colored them black using an ink pad & then
wiped on a little copper "Viva Inka Paste". It gives a real metal finish.


Lots of background mixed media, some stamping & some licorice coloured 
micro beads, all of which adds to the texture. I have also layered some scraps
of denim & hessian in between the papers & chipboard.


Well thats all from me today. Hope you liked it.
See you back here again soon.
Until then

Thursday, February 4, 2016

My Maja Design February DT Reveal
"Cute"


Hi there friends, thanks for stopping by. Today I have part one of my
February DT reveal for Maja Designs using their gorgeous
"Vintage Autumn Basics Collection".
I have actually used four different papers from this collection.


All the chipboard I have used, including thise "cute" title & the little "mini flourishes"
I have added to my flower clusters, are all from 2Crafty Chipboard.


The background paper I used is called Vintage Autumn Basics No.XX1.
I always love a script paper for a background. :)


I have torn strips to layer underneath my photo from the 
"Vintage Autumn Basics NoXX111".

I also cut some clocks out from the
"Vintage Autumn Basics NoXV1"


Lots of layering with flowers, chippies & mesh.


Here is a good shot that also includes the
"Vintage Autumn Basics XX11" as well.


Well thats all from me today, hope you like this one.
 See you back here real soon.
Until then. 

Monday, February 1, 2016

More Than Words
February DT Reveal
"Some Kind of Wonderful"


Hi there friends, thanks for stopping by.
Today I have my DT reveal for the February challenge over at
"More Than Words" challenge blog

This is our February challenge board.
#1...To be inspired by OR use the word WONDERFUL 
#2...To make your creation SPARKLE..
(you have to use both parts of the challenge to be eligible for all the prizes)


So this month we want to see projects that sparkle and shine! Add some subtle 
shimmer like embossing to your project perhaps or some serious bling – it’s up to you! 
Anything that shines is fine!


It is hard to see in the photos but my layout has a 
SERIOUS SPARKLE OVERLOAD !!!!

I have also added a little quote that says....
"Some kind of wonderful"


All the chipboard is from 2Crafty Chipboard & I have finished it all off with a 
coat of Irredescent Medium for a great pearlised shimmer, I even brushed
 a little of it over the flowers to give them some shine too.


Lots of micro beads, sequins, bling & shaved ice mica flakes on my background -
 these all add great sparkle. :)


I have brushed lots of shimmery mists onto my background for 
some more great sparkle & shimmer.


I have also added lots of bling around my page although it is hard to see in these pics.

Well there you have it.
I hope you can find the time to perhaps join us in this months challenge
& remember we have EIGHT MONTHLY PRIZES on offer too.
To check out all the details over on the blog, click HERE.

Until next time.

My DT Reveal For
Maja Design February Moodboard Challenge


Hi there friends, thanks for stopping by.
Today I have my DT reveal for the
 February moodboard challenge over
 on the Maja Design blog.

I have made my card using their "Vintage Autumn Basics" collection.

Vintage-Autumn-Basics 

♥ Create anything you’ll like – a layout, a card, something altered or maybe a canvas,
take a nice picture of it and email it to moodboard@majadesign.nu. We also need to know
 your full name, address and a phone number. Please specify what collection you would
 like to win, if you are the lucky one. We will also want to know if you would like it in the
 size 12*12 or 6*6. Please send us the pictures in the size of 800 pixels on the width.
 We would be so grateful if you also could change the file name of the photo to your
 first and last name including your country. 

You can combine it with other challenges & the winner is
 announced on the last Monday of the month.


I have added some pretty flowers, a string bow, 
a few die cuts & added a few pearls.

I have also inked all the edges with 
Victorian Velvet Distress Ink.


I have finished off with a chipboard word, "Love" which I coloured
to match using the same colour distress ink.

I hope you can also play along this month with our challenge too.