http://discreativespace.blogspot.com.au/http://discreativespace.blogspot.com.au/p/gallery.htmlhttp://discreativespace.blogspot.com.au/p/video-tutorials.htmlhttp://discreativespace.blogspot.com.au/p/blog-page.html

Kits

http://discreativespace.blogspot.com/p/kits_7.html

Tuesday, March 22, 2016

"Explore"
Mixed Media CANVAS
PLUS
Another VIDEO TUTORIAL


 Hi there paper friends, thanks for stopping by.
Today I have a CANVAS that I made and also a 
step X step VIDEO tutorial to go with it.

TO VIEW VIDEO CLICK HERE.


The theme of my canvas was inspired by the current March challenge over at
Berry71Bleu blog. Here is their moodboard.


I have created the entire canvas using just two products.
Yes just two tiny tubs of Shimmerz Inklings in the colours,
"Gosh Garnet" & "Steely Blue Eyes".


 After stencilling some bricks with texture paste onto the CANVAS
I then coloured it up with the Shimmerz "Gosh Garnet".


 It is hard to see in the pics but it is a pretty salmon pink
with beautiful gold shimmer all through it.


I also used the same colour, to colour up the flowers too.


While I was at it I also coloured some pieces of a lace doilly &
some cheesecloth as well so it would create a real monochromatic look.


I used the "Steely Blue Eyes" Shimmerz Inklingz to colour all my gorgeous
2Crafty chipboard, including the title, the gorgeous "Flourish Heart Corner"
& the big "Scribbled Heart Frame" behind the photo.


Well thats all for today, I hope you take the time to watch my video,
& don't forget, while you are there, to SUBSCRIBE to my channel,
that way you won't miss out on the next one.

Until next time.


Monday, March 21, 2016

I Will Be Teaching at
"Creative Adventure Downunder"
In New Zealand

EXCITING NEWS TO SHARE...
Hi friends I had to share my scrappy news with you all.
I am soooo happy to announce that I will be teaching this year at
 Creative Adventure Downunder which is held in Auckland New Zealand from 
30th Sept. to 2nd Oct. A whole weekend of scrappy fun where I will be teaching 6 classes. 
Boy I just know we are all going to have lots of FUN !!!! If you are interested in coming along & joining us you can contact them direct or PM me on FB. I am sooo looking forward to it.
There will also be some other teachers there too although I don't know who just yet,
no doubt they will be fabulous I'm sure.

Thanks so much for inviting me to come to New Zealand
Jodi Tomlin & Michelle Widdows.

Saturday, March 19, 2016

My March DT Reveal For 2Crafty Chipboard
Part Two
"Dream"


Hi there paper peeps. Thanks for calling by the blog. 
Today I have part two of my March DT reveal for 2Crafty Chipboard  to share with you.
The is one of my favourite colour combinations & features
my sweet little grandaughter Mia.


2Crafty Chipboard used..
Funky Hearts - Multi Pack
Dreamtitle - loopy font
Flower Spurt Chain
Helena's Corners
Groovy Flowers


After creating a mixed media background I gave all the chippie pieces a coat of gesso.
I then coloured all the chippie pieces, with the exception of the "Groovy Flowers", with 
some mauve mica powders. When they were dry I dabbed on a little Stickles glitter.


Here you can see I have cut the "Helena's Corner" in half & used it as a flourish 
piece instead of just a corner. I think it works great trailing beneath my flowers.


The "Groovy Flowers" I then gave a coat of white paint so that they were real
white white, added some Stickles glitter & tucked them in here & there.


Next  I have placed a piece of the "Flower Spurt Chain" along the
edge of the page & the other piece I tucked in to the right of the photo. 


To finish my layout off I have added lots of pretty flowers.

Well thats all for today.
Back soon.


Thursday, March 17, 2016

Some Maja Design March DT Work
A Covered Diary


 Hi there peeps , thanks for stopping by. Today I have a diary that I have covered using some
 lovely Maja Design papers & 2Crafty chipboard.. They are from their
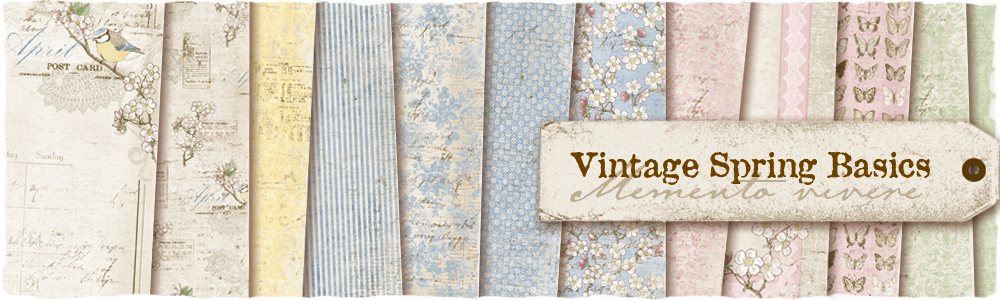
"Vintage Spring Basics" collection & they are just so beautiful.


Firstly I covered the diary with the "5th of March" paper & then I cut some strips
 of the "7th of March", "8th March" as well as some strips from the back of the 
"5th of March" that I had used to cover it with. I simply stuck the strips on to the
 front of the diary . I inked around the edges of the book with some distress ink.


I then proceeded to decorate it with some lovely 2Crafty chipboards, lots of flowers, 
a little string bow as well as lots of aqua micro beads for added texture. I also  scattered
 a few pearls around too as well as cutting out two tiny butterflies from the paper to
 stick in the bottom right hand corner.

Vintage-Spring-Basics-P

Well thats all from me today. Until next time.


Tuesday, March 15, 2016

My 2Crafty April Design Team Reveal
ALSO
Guest Designing For CSI
(Color, Stories, Inspiration)


Hi there friends, thanks for stopping by.
Myself & a whole lot of the other 2Crafty DT girls were invited
to be "Guest Designers" over at CSI. (Colors, Stories, Inspiration Blog).
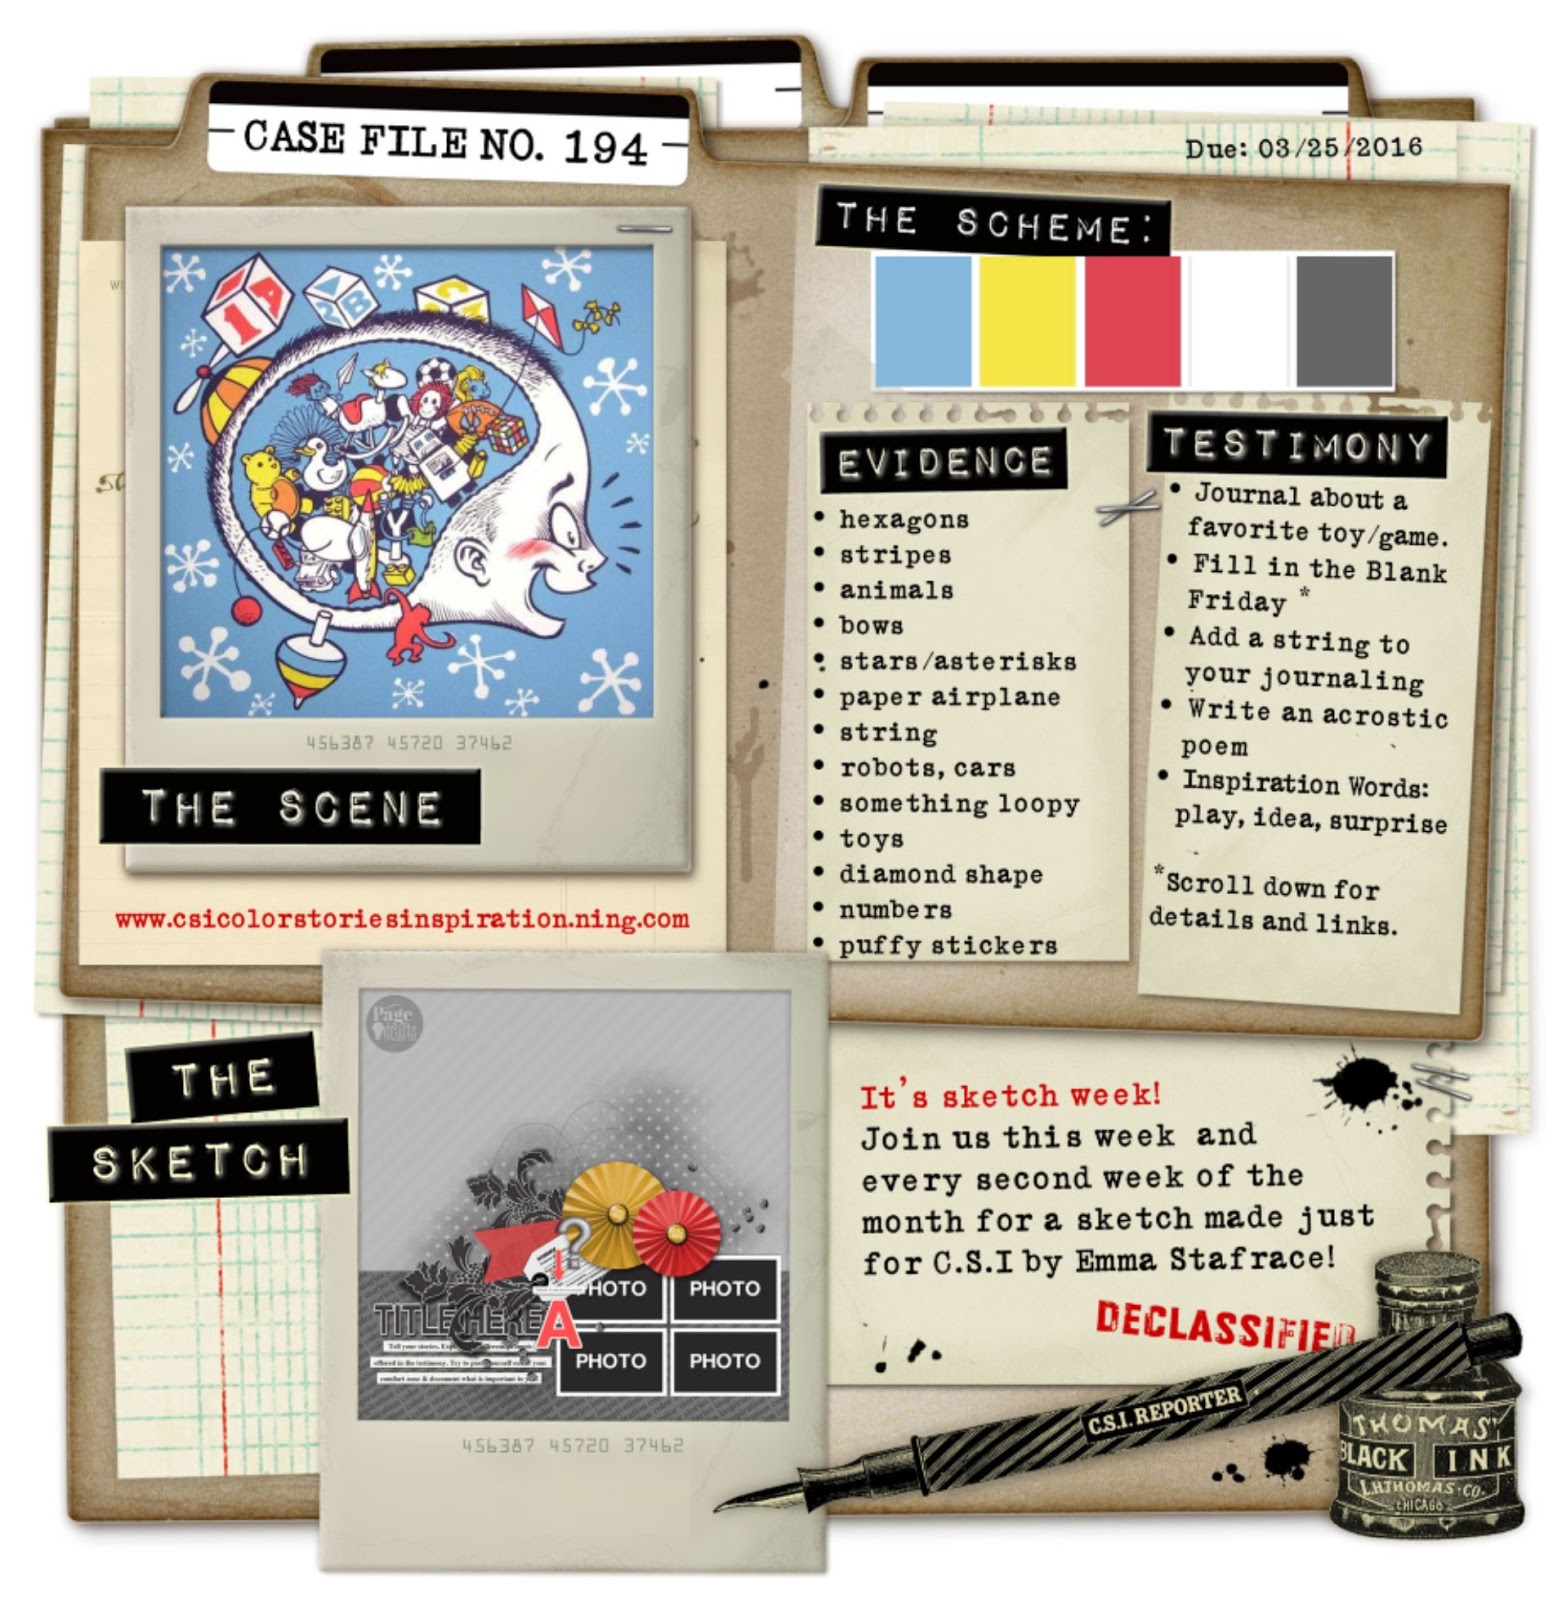
Here is the case file. (challenge)

I really loved this case file. The colours were just perfect  for
 these pics of my little grandson.

For my EVIDENCE I have used...
Stars
Aeroplane (flair)
Stripes (tag)
String (on my tag)
Something loopy (thread behind my pics)
Numbers (chippie number panel).

For my TESTIMONY I have ...
**Added string to my journaling tag

I have also used the Sketch as well.


2Crafty Chippies Used...
Handsome Little Man - title
Number Panel
ATC Tiny Hearts & Stars
Stars Multi Pack


After first applying a coat of gesso to all my chippies, I then brushed on some
 pewter coloured mica powder to colour my "title". I made sure it was a bit hit
 & miss so some white showed through to give a bit of a shabby look.


For all the other chippies, including the "Number Panel", the "Mini Stars"
& also the larger "Stars", I just coloured them with some slightly watered down
acrylic paint brushed on. Again I did it quite roughly as I didn't want it to be
a solid colour, but rather a water colour type of look.

When dry I wiped them over slightly with an ink pad in a slightly different shade.
I

I have also done a water colour treatment on my background in a shade of 
yellow & orange Lindys Sprays to contrast with the blue of the chippies.


Little stars & a striped tag as part of my evidence.
Check out that little aeroplane on the flair too.


Well thats all from me today. Thanks so much for stopping by.

Until next time.


Tuesday, March 8, 2016

"SMILE"
My Entry For the Prima March BAP Challenge
PLUS a VIDEO TUTORIAL
How to Create A Stamping & Watercolour Background...


Hi there friends, thanks for stopping by.
Today I have a layout I created for the March BAP challenge
over on the Prima blog & it is based on this months sketch.
I have flipped it & taken some artistic license with it of course,
 like I so often do !!! You have to make it your own, right. :)

I have also made a VIDEO TUTORIAL
on this technique. Stamping & watercolours to create a background.
CLICK HERE to view video...


March Prima BAP Sketch
 Now before I go on I have to say I was firstly inspired by a 
technique I saw Marina Syskova use on her "More Than Words" March entry.
I thought I would like to try it out, although mine is absolutely nothing like hers,
our styles are totally different, but I just had to try this technique out & when I saw
this months BAP challenge on the Prima blog, one of their super talented DT girls has 
also used this technique too, but in wonderful pastels.
So there you go, same technique, three different versions. :)

Scroll down for a full list of all the Prima products used.


Again I have used a pic of my sweet baby grandaughter Mia.
Poor little bubba is very sick at the moment, she has pnermonia !!!


All my chipboard I have used is from 2Crafty chipboard.

I really enjoyed creating this background. Lots & lots & lots of stamping
& then some fun painting with watercolours.


Lots of pretties, flowers, birds, butterflies & a pretty colour scheme. :)


Well thats all from me today..
See you back here soon.

Prima Products Used...
Prima Paper from Lyric Collection - Picato
Flowers from "Polka Dot Flowers" #201401
Flowers from Polka Dor Flowers #201449
Flowers from White Box ##577773
Flowers from "Pixie Vine - Sun Kiss"
Birds from Songbird Vine - Blue
Prima Heavy Gesso - white
Prima Soft Gel Medium
Prima Glass Beads- Licorice
"Hello" & Wood Jar - Wood Icons - "Forever Green" 
Prima Butterfly Stamp "Stamp N Add" #892500
Prima Stitched Circle Rubber Stamps #570491


Thursday, March 3, 2016

Some Maja Design March DT Work
Wonder, Always, Enjoy"


 Hi there peeps, thanks for stopping by. Today I have another layout to share with you featuring my sweet little grandaughter Mia. This is part of my March DT work for Maja Designs.
 I have used some papers from their "Vintage Summer Basics" collection.


These are the two Maja Design papers I have used.
The paper on the left is the "1934" paper & the one on the right is the "1933" paper.


 For my background I have used the "1934" paper from the Vintage Summer Basics collection 
& I have layered it over the top of the "1933" paper, that is the gorgeous floral one that is
 peeping out of both sides of my layout. It is a little hard to see unfortunately.


 Also behind the photo I have added lots of different strips of various Maja Design papers,
 then I wiped them over with some gesso before brushing on some pink coloured mist to 
contrast with the lovely aqua background paper. 


 This is a great fun little technique as it is a good way to use up lots of your scraps & it 
also adds great textural interest to the page. Plus the Maja papers are so nice & thick 
that they are perfect for using with  mixed media. Last  step was to stencil some
 pattern over the page using a stencil & some texture paste.


 Once the background was all dry I proceeded to add my photo, chipboard &
of course, lots of flowers.

All of the chipboard I have used is from 2Crafty Chipboard. 
Flower Spurt Chain
6" Skeleton Frames
Mini Words Set #1


Well thats all from me today. See you back here soon.
Until then.


Tuesday, March 1, 2016

My More Than Words March DT Reveal
"Your First Breath Took Ours Away"


Hi there peeps, thanks for stopping by the blog.
Today I have my DT reveal for the March challenge over on the

 I have used this pic of my new baby grandson.
This was taken at a professional photo shoot. They have done such a 
beautiful job. He looks adorable.

The word "BLISS" inspired me to use this exquisite photo,
because, after all, he is pure bliss.

Here is the March Challenge Board.
 So the challenge is to be inpired by the word BLISS &
to use GESSO. Too easy.

I have white washed just about everything on my page with gesso to create
a lovely soft look.


2Crafty Chipboard Used...
Angel Wings
Fine Leafy Bush
Bubble Clumps
Your First Breath-title


After lots of background mixed media and a wash of watered down
aqua mist applied with a paint brush I then set about layering up the photo.

This magnificent "title" was firstly coloured with some grey ink 
followed by a little random gesso wiped over just to tone it down.


Next up I have layered the gorgeous "Angel Wings" & some "Bubble Clumps" 
 underneath my photo. These were coloured with some aqua mica powder
 followed with a couple of dabs of glitter Stickles.


Lots of lovely laces were also wiped over with gesso before I added a
little colour to them also. Flowers teamed with micro beads help
create a lovely background for my photo.


Well thats my take on the March challenge.
Hope you get some inspiration by it &
REMEMBER
there are EIGHT AWESOME PRIZES
up for grabs too.

Until next time.