http://discreativespace.blogspot.com.au/http://discreativespace.blogspot.com.au/p/gallery.htmlhttp://discreativespace.blogspot.com.au/p/video-tutorials.htmlhttp://discreativespace.blogspot.com.au/p/blog-page.html

Kits

http://discreativespace.blogspot.com/p/kits_7.html

Monday, July 4, 2016

My NEW KIT I Designed For
The Scrapbook Diaries
"Magic Happens"


Hi there friends, thanks for popping by.
Today I have my latest kit I designed for my good friends over at
& is available for purchase now.

The kit comes with an extra bonus layout
PLUS
private access to a step X step video tutorial of the creative process
for you to follow along with. 
Two for the price of one !!!


I enjoyed creating this monochromatic layout with all these wonderful
shades of blues. Naturally I have gone for a mixed media background.


It also includes some fabulous Primas flowers.


 As well as lots of gorgeous 2Crafty Chipboard too.


Don't you just LOVE those little fairies?


This kit would be perfect for any type of girly photos.


Well thats all from me today.
I hoped you liked my layout & perhaps leave me a comment.

Until next time.



Saturday, July 2, 2016

So happy to be on the
Prima Guest Design Team
2016 - 2017


I am over the moon happy to announce that I have been invited, again this year, to be
 on the PRIMA Guest Design Team for 2016-2017. To say I am thrilled is a total
 understatement!!! Thanks so much to Prima for having me back on your 
Guest DT for another year. I am truly honoured & humbled to be in the 
company of so many fabulous artists. <3 <3 <3


Friday, July 1, 2016

My More Than Words July DT Reveal
"Enjoy - Escape"


Welcome friends, can you believe it is the first of the month already ?
We are past the half way point of the year !!!!!
Anyway today I have my DT reveal for the July challenge over at
More Than Words challenge blog.

This month we have a sketch challenge for you & our
inspiration word is SMILE. Make sure you use both parts of the
challenge to be eligible for any of our EIGHT fabulous PRIZES.

I was inspired to use this photo where the girl is standing in a fabulous
 field of flowers, that scene would be enough to make anyone smile. :)


As always I have used lots of yummy 2Crafty Chipboard.


 I mixed a little paint in with my texture paste so that my stencilling
would be green to match my photo. One has to think a little harder
when using a black background, but I'm happy how it turned out.


Lots of beautiful flowers, leaves & vines from both Prima and Green Tara.

Lots of string which I am totally obsessed with lately !!!
As well as a sweet little flair from Flutterby Designs.

Well thats all from me today. 
Until next time.


Friday, June 24, 2016

My More Than Words
June Mini Challenge Reveal
"Tag - ART"


Hi there friends, just popped in to share my DT reveal for the
June Mini Challenge over at
More Than Words.

This months challenge is to use the word "ART" (& it must be visible).
The mini challenge is open to cards, tags or ATC's only.
Prize is a $25 store voucher over at Dusty Attic.
Check out all the details of our mini challenge over on our blog.

Until next time.


Thursday, June 23, 2016

My Maja Design June DT Reveal
Part Two
"Henry Boy"


 Hello there thanks for stopping by the blog. Today I have a layout to share with you & it 
features my baby grandson, Henry. Now it is a a plain & simple layout & not what I normally
 do. I don't do that many boy layouts so when I saw these gorgeous papers from Maja Designs 
"Life By the Sea" collection, I thought how perfect
 they were for a baby boy layout.


For my background I have used  "The Westcoast" paper. Love these gorgeous
 nautical stripes & I have trimmed it with some of the ""Landmark" paper..

The little kite I have made at the side of the photo was out of some of the scraps 
I had left over of both the "Landmark" & some "Sailing" papers.


 Next up I decided to make a little pinwheel. I used the "Drop the Anchor"
 paper for this. I like the way you can see both side of the paper on this.
I also used up some of the decorator strips which are on the bottom of every 
Maja paper, & ran them vertically down my page to add a graphic element to the design.


 Next up I decided to make a little circular pleated embellishment using the "Landmark"
 paper too. I just love the way this collection mixes & matches so perfectly.


 Some string for texture, some ink splatters,  a little stamping,  a few layers &
 some 2Crafty chipboard including my custom made title, kite & chain border.


Hey presto, all done. 
 I know we all like to do pretty creations using pretty papers & lots of flowers, but 
occassionally we have to do some boy things & what better range to do it with, 
than this "Life By The Sea" collection.
These are the four Maja Design papers I have used....


Well thats all for today.
Until next time.


Sunday, June 19, 2016

My 2Crafty June DT Reveal - Part Two
"Moments"


 Hi there friends, thanks for stopping by.
Today I have part two of my June DT reveal for

I have gone with a Gelato coloured background.


2Crafty Chipboard Used
Cherish the Moments - title (cut up)\
French Lace Border
Groovy Flowers
6" Skeleton Clock Frames
Bamboo Palms (I just used the leaves)


  First up I gave all the chipboard a light coat of gesso, this acts as a base coat.
Then I coloured the "French Lace Border" with my Gelatos & used it
vertically on my page.


I wanted a small title so I used the "Cherish the Moments" title, but I have 
cut the word moments off & just used it seperatley on its own. I wanted 
to have my word just sitting on top of the flowers & I left it plain white.

 
In the photo below you can see I have simply inked the small "Skeleton Clock Frame" with
a balck ink pad to make it stand out. I have sprinkled a few "Groovy Flowers" around the
 page. These were also coloured with Gelatos too.

 
  Lastly I have used some leaves that I had cut off the "Bamboo Palm". I heat embossed
these & then wiped a little gold/green ink over for effect.
Hey presto, all done.
 
Hope you like it & perhaps leave me a comment.
 
Until next time.


Tuesday, June 14, 2016

My 2Crafty Chipboard June DT Reveal
Part One
"Together"
PLUS A VIDEO TUTORIAL


Hi there bloggers. Thanks for calling by.
Today I have part one of my 2Crafty Chipboard June reveal to share with you.
The pic is of myself & my two beautiful Grandbabies. I don't think 
either of them was real sure about what was going on !!! I have printed my
photo out in sepia so I could use these beautiful brown tones on my layout. 

I have also done a VIDEO TUTORIAL too.
CLICK HERE TO VIEW

 2Crafty Chipboard Used
Festive Vine
6" Messy Square Frames
Together - title


  I created a mixed media background, but first I coated this denim look paper in some
clear gesso to protect it. I got out just about everything I owned in these bronze tones
& just kept adding, some of this & some of that !!!

All the chipboard was treated in the exact same way.
A coat of white gesso & then some distress ink & a
brush over with some water to give a blended shabby look.

I love this 2Crafty "Together" title. Just perfect.


Here you can see the "Messy Frames" around my photo. I have only used
the middle sized one & I have saved the others for later.


 In this pic above you can see where I have cut the "Festive Vines" into several pieces
& I have simply poked the pieces in here & there amongst the flowers.

Don't you just love that big brass fly!!!! I do. :) 


  Lots of string, corrugated, bronze mica flakes, bronze crushed glass, if
it was the right colour, I added it. I really enjoyed creating this layout.


Well thats all for today, I hope you like this one.
It was rather special for me seeing it was this pic of myself with our Grandbabies.

If you like it, remember to leave me some comment love.

Until next time.


Thursday, June 9, 2016

My June DT Reveal for Maja Designs
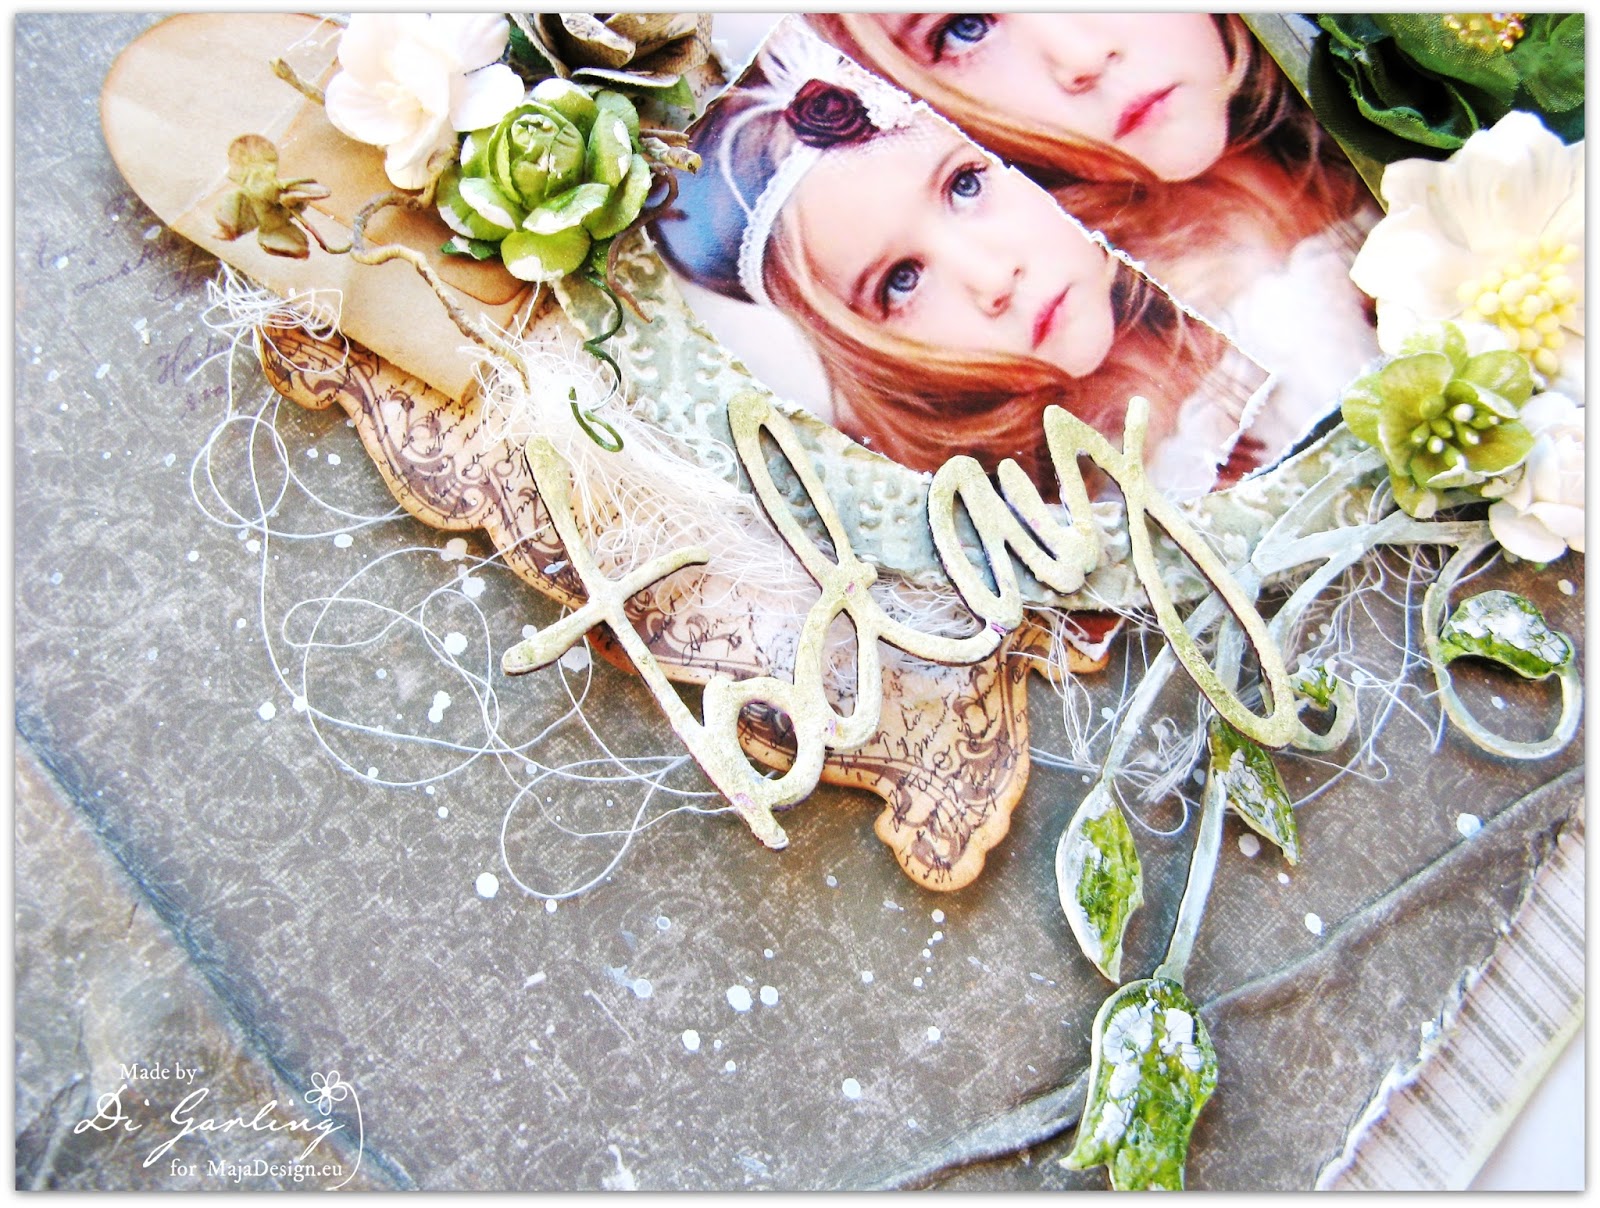
"Today"


Hello there, welcome to the blog. Just popping to to share some of my June DT work 
for Maja Designs. This is up on their blog today.
 I have a layout I created using some papers from their "Enjoying Outdoors" collection.


For the main background I have used their "Beautiful Trees" paper from 
that collection. Such a lovely shade of earthy green, my favourite colour. :)

            All of the gorgeous chipboard I have used is from 2Crafty Chipboard.
 

 I cut a tag out of the "Tags & Journalling" paper, also from the same collection 
too & popped it in among my layers.  I have also used lots of gorgeous flowers too.


 If you look close you will see I have actually scrunched the paper a little, I wet it under
 the tap, scrunched it up like this & then dried it off. Wetting it just makes it easier to
 do this technique. When dry I also distressed the edges a little as well. It just creates 
a nice textural element to the layout I think.


After doing that I then stuck it to a piece of the "Woodlands" paper, from the same collection.
 I think the stripe makes such a nice contrast. I also used some of the "Woodlands" stripe 
behind the photo too.


I have listed the papers used below.
The one on the left is the "Woodlands" paper, 
the middle one is the "Beautiful Trees" paper & 
the one on the right is the "Tags & Journalling Cards". 
These are all from the "Enjoying Outdoors" collection.

Until next time.


Enjoying-Outdoors-P